
Design {DYIHeadsetFirstWorkshopQuest}
Set-Up
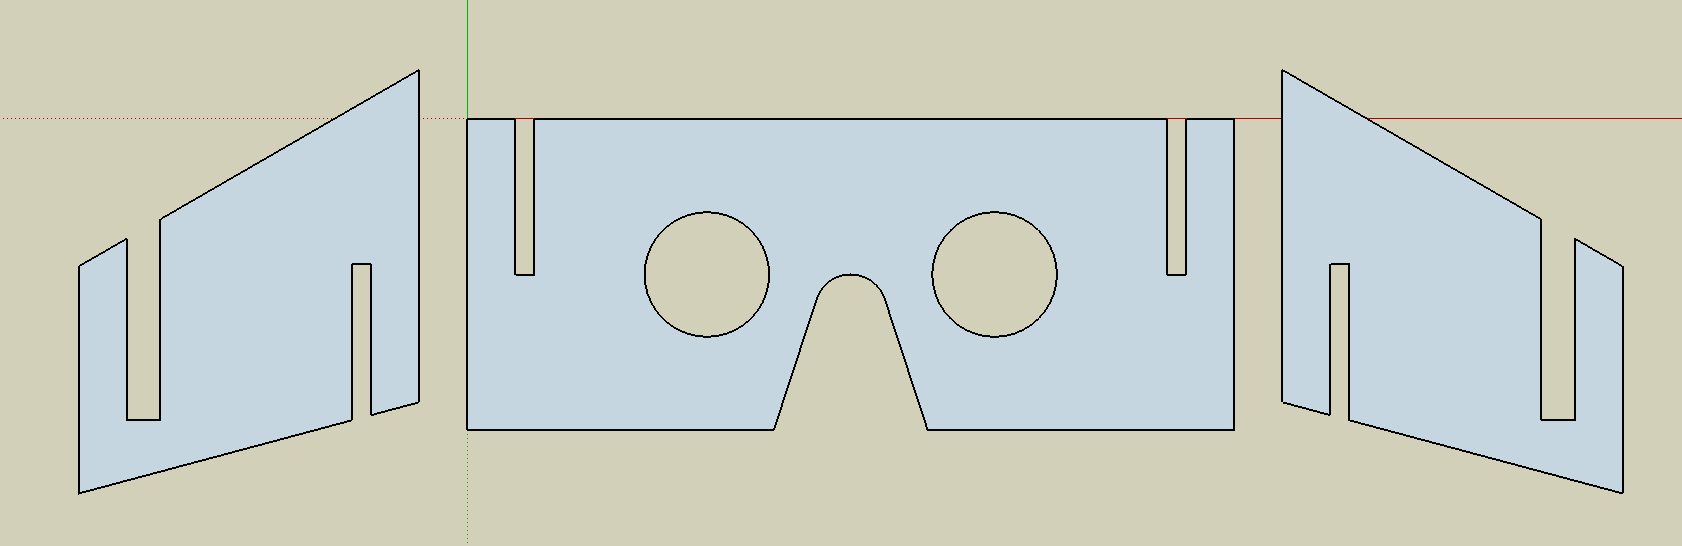
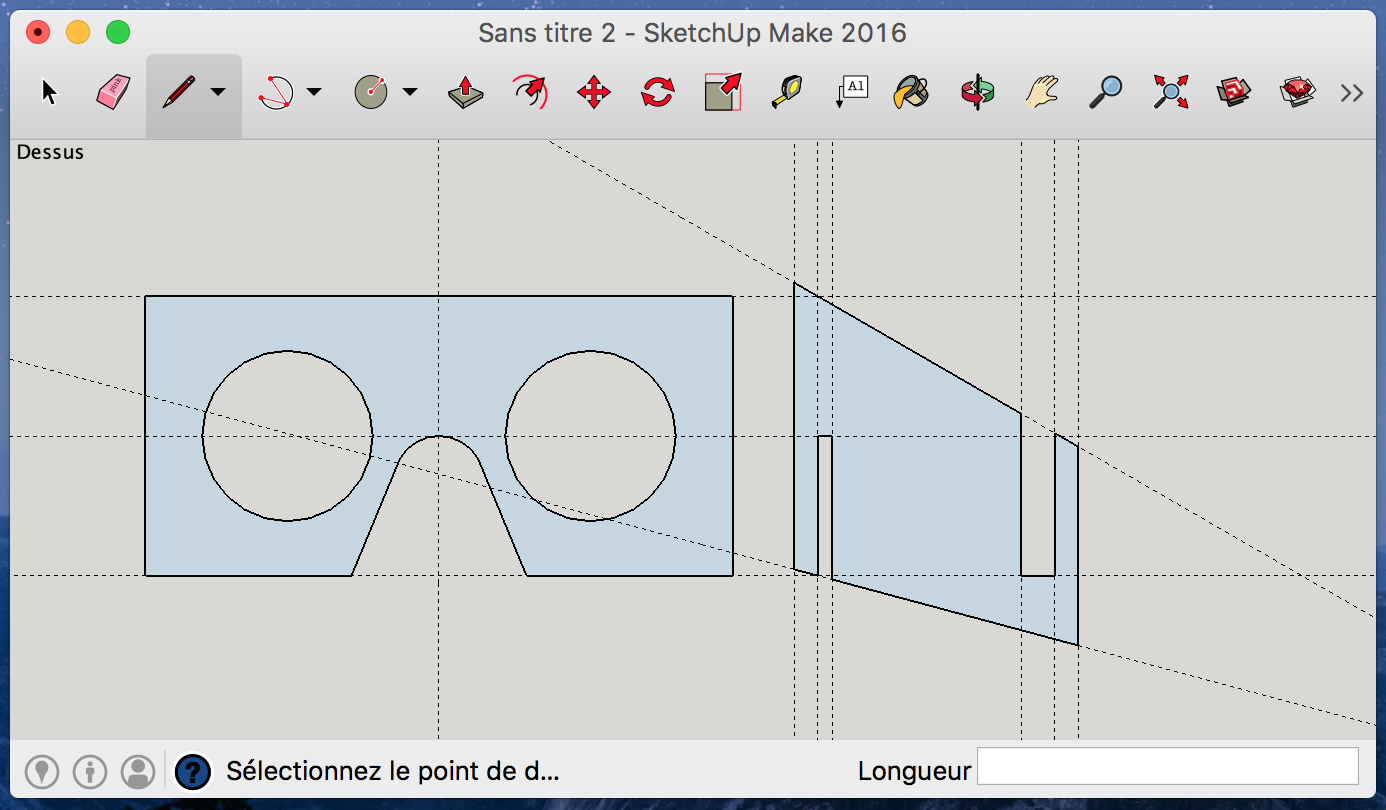
Here's what we want to make first :
We will use Sketchup because it's easy to learn and enough powerful for most usages. If you're confortable with another 2D/3D CAM, feel free to use it and follow along the instructions and dimensions with your own software. But you should give a try to Sketchup someday, it's very fast and efficient to prototype, even in 2D.
- Download and install Sketchup https://www.sketchup.com/. You can use the free version for this workshop.
- Start Sketchup using the woodworking - millimeters template.
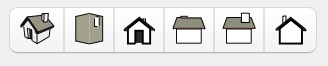
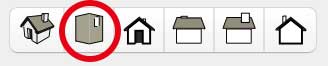
- The top bar contains cummons tools you will use. Right-click it to personalize it and add the standard views:
- Anytime you’re stuck with a tool, check the instructor : window > instructor.
Design
You want a shape that specially fits your phone dimensions. Grab a ruller and get the lenght, height and depth of your device in millimeter (or google it). Keep it next to you, you'll need it.
View
- Use the magnifying glass (or type
z) to zoom.
- Use the orbit tool
oto manually orient the view. Use it with
 shiftheld to pan. - You also can automatically zoom to your objects with

To simplify the export, we will draw everything on the ground surface :
- Go in top view
- Set parallel projection : Camera > Parallel Projection
Rectangle
Let's start drawing! Use the rectangle tool to create a rectangle with the dimensions : phoneLenght+20 x phoneWidth. My phone is 124mm x 59mm, so I want a 144x59mm rectangle. Don't go far 150x60.
You have to:
- Grap the rectangle tool
- Click somewhere and move the mouse is the direction you want
- Type
124;59 - press Enter
See the down-right field you type in.
Lens placement
Use guides to position the lenses holes :
- Grab the ruller tool
- Click on the horizontal side to initiate a horizontal guide. Place it in the center of a vertical side. Sketchup automatically propose you an anchor for that!
- Reapeat for the vertical side.
- From the vertical side, click, mode your mose to the right and type
32andenter - Repeat for the left lens.
Circle
You'll draw a circle from the center, with the radius of your lenses plus 1 millimeter for convenience. Your lenses have probalby a diameter of 34mm, fo you should use 18mm for radius
- Use the circle tool to draw both circles
- Use the selection tool to grab the inner disk and delate them with
Del
Nose
We want space for our big nose! Use the tools line, circle, or arc to make a quick shape :
Sides
To create the sides, you've to keep in mind :
- Your phone should be placed 40mm in front of the lenses, and vertically centered.
- The phone's slot width should be your phone width minus 0.5 or 1mm. It's 7mm for me.
- We'll make cross assembly. The slots width should be your material thikness minus 1mm. You'll probably use 3 or 4mm cardboard, then make 2 or 3mm slots.
- Don't make strip less than 5mm wide, they'll break.
You start by drawing a template with the ruller, with the 3mm slot for assembly, 40mm space and 7mm slot for the phone.
Then add some space around
Use the rotate tool q to turn the top and bottom guide. Press alt while you do so to duplicate the guide. This works with the move tool m too!
You can use the 15° anchors or type any angle you want.
You can use the line tool l to draw on top of the guides.
Symetrie
Let's make a symetrie for the left side!
- Double click to select it
- Right click > Make Component or press
g. You just transformed your geometry into a component, which gets those behaviors:- Components are separated from any geometry. You can draw across or on top of it while using it as anchor, but your shapes won't blend together.
- You can make instances of it. Any editing of one instance will affect the other ones.
- Now duplicate it with the move tool
mwhile holdingalt. - Then use the scale tool
sto flip it. You can type-1or find the anchor.
You can apply the same trick to your center board:
- Divide it with a line.
- Create a component
- Copy and paste the component in place with Edit > Paste in place
- Scale it to -1
Double click to enter a component, make the modification and see the other side updating. I used 3mm for the slot width and 5mm around.
Lens holder
You're alsmot done! You only miss some ring to hold the lenses in place. Use the circle tool c and Offset tool f.
Next Stage
Now you're done, and you can pass to the next stage to laser-cut your handset. If later on you want to use sketchup for 3d, here's some tips :
- Get back to Camera > Perspective, you'll be much more confortable.
- Abuse of the Push/Pull tool
p. It's the core of sketchup. - When you move something, press an arrow to lock in one axis. Press again to un-constraint.
- Almost all tools works the same as you used them in 2D, keep on using them.
- Always make Component
gto avoid messing up your model.